You’ve seen an external graphics card (eGPU) working with a Mac and looked into getting one but quickly realized it’s a confusing process. I was in your shoes. I spent hundreds of hours learning everything I could find about external GPU and how to set one up with my MacBook Pro. Through this endeavor, I became acquainted with two renowned eGPU pioneers and experts, Nando and Goalque. Together we built eGPU.io, the first and only dedicated forum for external graphics card.
My goal with this post is to provide a comprehensive beginner’s setup guide so that Mac users can build an external GPU for their computers. As new Macs and Thunderbolt eGPU enclosures become available, I will update this guide with the latest information. To get started, you’ll need the following hardware:
- Thunderbolt-equipped Mac computer
- Thunderbolt 3 or Thunderbolt 2 PCIe enclosure
- Nvidia GeForce or AMD Radeon graphics card
- Power supply based on your enclosure & GPU
- External monitor with digital inputs
- Ghost headless display adapter (optional)
External graphics cards work with all Thunderbolt-equipped Macs. A 2011 MacBook Pro with the first generation Thunderbolt and the latest 2016 MacBook Pro with Thunderbolt 3 can both harvest the power of an eGPU. In my experience, a Mac with only integrated graphics is easier to set up with an external GPU. Mac models with an asterisk (*) denote they have discrete graphics as a standard feature. The table below details all Mac computers with Thunderbolt connectivity.
Thunderbolt Mac | Speed |
| Thunderbolt 3 (USB-C) | 40 Gbps |
| iMac Pro (Retina 5K, 27-inch, Late 2017) * iMac (Retina 5K, 27-inch, Mid 2017) * iMac (Retina 4K, 21-inch, Mid 2017) * iMac (21-inch, Mid 2017) MacBook Pro (15-inch, Mid 2017) * MacBook Pro (13-inch, Mid 2017, Four Thunderbolt 3 Ports) MacBook Pro (13-inch, Mid 2017, Two Thunderbolt 3 Ports) MacBook Pro (15-inch, Late 2016) * MacBook Pro (13-inch, Late 2016, Four Thunderbolt 3 Ports) MacBook Pro (13-inch, Late 2016, Two Thunderbolt 3 Ports) |  |
| Thunderbolt 2 | 20 Gbps |
| Mac Pro (Late 2013) * iMac (Retina 5K, 27-inch, Late 2015) * iMac (Retina 5K, 27-inch, Mid 2015) * iMac (Retina 5K, 27-inch, Late 2014) * iMac (Retina 4K, 21.5-inch, Late 2015) iMac (21.5-inch, Late 2015) iMac (Retina 4K, 21.5-inch, Late 2014) iMac (21.5-inch, Mid 2015) Mac mini (Late 2014) MacBook Pro (Retina, 15-inch, Mid 2015) MacBook Pro (Retina, 15-inch, Mid 2014) * MacBook Pro (Retina, 15-inch, Late 2013) * MacBook Pro (Retina, 13-inch, Early 2015) MacBook Pro (Retina, 13-inch, Mid 2014) MacBook Pro (Retina, 13-inch, Late 2013) MacBook Air (13-inch, Early 2015) MacBook Air (11-inch, Early 2015) | 
|
| Thunderbolt | 10 Gbps |
| iMac (27-inch, Late 2013) * iMac (27-inch, Early 2013) * iMac (27-inch, Late 2012) * iMac (27-inch, Mid 2011) * iMac (21.5-inch, Late 2013) iMac (21.5-inch, Early 2013) iMac (21.5-inch, Late 2012) iMac (21.5-inch, Mid 2011) Mac mini (Late 2012) Mac mini (Mid 2011) MacBook Pro (17-inch, Late 2011) * MacBook Pro (17-inch, Early 2011) * MacBook Pro (Retina, 15-inch, Early 2013) * MacBook Pro (Retina, 15-inch, Mid 2012) * MacBook Pro (15-inch, Mid 2012) * MacBook Pro (15-inch, Late 2011) * MacBook Pro (15-inch, Early 2011) * MacBook Pro (Retina, 13-inch, Early 2013) MacBook Pro (Retina, 13-inch, Late 2012) MacBook Pro (13-inch, Mid 2012) MacBook Pro (13-inch, Early 2011) MacBook Air (13-inch, Early 2014) MacBook Air (13-inch, Mid 2013) MacBook Air (13-inch, Mid 2012) MacBook Air (13-inch, Mid 2011) MacBook Air (11-inch, Early 2014) MacBook Air (11-inch, Mid 2013) MacBook Air (11-inch, Mid 2012) MacBook Air (11-inch, Mid 2011) | 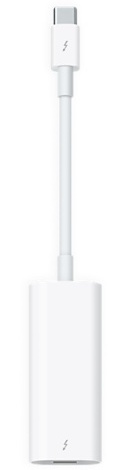 |
Before getting too excited about your Mac’s compatibility with eGPU, you should know that Apple never announced external graphics card capabilities as an official feature on its computers. Building and using an eGPU with your Mac is totally unsupported by Apple; the Genius Bar will definitely turn you away if you haul your external GPU enclosure into the Apple Store. eGPU.io Forum is the appropriate place to ask questions about your eGPU setup.
External GPU development in Mac OS has been a process of modifying system files to enable support for external graphics cards. Future versions of Mac OS may break the existing procedure to enable eGPU. For the time being, these three steps must be completed to have a fully functional eGPU:
- Step 1 – Communication between the Thunderbolt enclosure and the computer.
- Step 2 – Recognition in Mac OS that the enclosure contains a graphics card.
- Step 3 – Installation and loading of the appropriate drivers for the GPU in Mac OS.
Step 1: Thunderbolt Communication
Most Thunderbolt enclosures with a PCIe slot are able to communicate with Mac OS (10.9 to 10.12). A Thunderbolt 2 enclosure such as the AKiTiO Thunder2 works directly with all first- and second-generation Thunderbolt Macs since the physical connector is the same and Thunderbolt 2 (TB2) is backward compatible with Thunderbolt (TB1). The introduction of the Late 2016 MacBook Pro brought Thunderbolt 3 (TB3) and a new type of connector in the physical shape of USB-C. Apple Thunderbolt 3 (USB-C) to Thunderbolt Adapter allows backward and forward compatibility. With this adapter, TB1 and TB2 Macs can use TB3 enclosures, and TB3 Macs can use TB2 enclosures.
Choosing a Thunderbolt 2 enclosure is very easy because there are only a handful. The AKiTiO Thunder2 PCIe Expansion Box is the most affordable and commonly used for eGPU builds. Other suitable TB2 enclosures for eGPU setup are: OWC Mercury Helios, Sonnet Echo Express III-D, Netstor NA211TB-LD.
You’ll have many more options for a Thunderbolt 3 enclosure. Since the arrival of the Late 2016 MacBook Pro in October 2016, it seems a new Thunderbolt 3 enclosure comes out every month. Intel is in high gear to promote the Thunderbolt 3/USB-C connectivity standard. Due to the thinner and lighter design language across the industry, the need for expansion enclosures is at an all-time high. Below is a list of the most popular Thunderbolt eGPU enclosures currently available in 2017.
Thunderbolt 3 Enclosures | Price |
| AKiTiO Node | $299 |
| USB-C Controller: TI83 PSU: 400W Built-in Availability: Q1, 2017 I/O: 1x Thunderbolt 3 Size: 16.85 x 8.94 x 5.71 in. |  |
| AKiTiO Thunder3 | $259 |
| USB-C Controller: TI82 PSU: 60W External Availability: Q3, 2016 I/O: 2x Thunderbolt 3, 1x DisplayPort Size: 9.17 x 5.87 x 2.99 in. |  |
| Mantiz MZ-02 (Venus) | $389 |
| USB-C Controller: TI83 PSU: 450W Built-in Availability: Q2, 2017 I/O: 1x Thunderbolt 3, 5x USB 3.0, 1x USB-C, 1x Ethernet, 1x SATA Size: 13.38 x 8.50 x 6.45 in. | 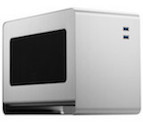 |
| PowerColor Devil Box | $399 |
| USB-C Controller: TI82/TI83 PSU: 500W Built-in Availability: Q1, 2017 I/O: 1x Thunderbolt 3, 4x USB 3.0, 1x USB-C, 1x Ethernet, 1x SATA Size: 15.75 x 9.53 x 6.77 in. | 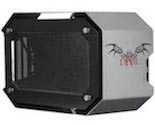 |
| Razer Core | $499 |
| USB-C Controller: TI82 PSU: 500W Built-in Availability: Q2, 2016 I/O: 1x Thunderbolt 3, 4x USB 3.0, 1x Ethernet Size: 12.20 x 5.98 x 1.73 in. | 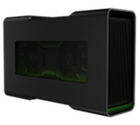 |
| Asus ROG XG Station 2 | $550 |
| USB-C Controller: TI83 PSU: 600W Built-in Availability: Q2, 2017 I/O: 1x Thunderbolt 3, 4x USB 3.0, 1x USB-B, 1x Ethernet Size: 17.95 × 10.94 x 6.22 in. | 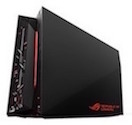 |
| Sonnet Echo Express SE I | $269 |
| USB-C Controller: TI83 PSU: 60W External Availability: Q1, 2017 I/O: 2x Thunderbolt 3 Size: 8.63 x 5.63 x 3.50 in. |  |
Thunderbolt 2 Enclosures | Price |
AKiTiO Thunder2 | $219 |
| PSU: 60W External Availability: Q3, 2014 I/O: 2x Thunderbolt 2 Size: 9.17 x 5.87 x 2.99 in. |  |
| OWC Mercury Helios | $298 |
| PSU: 100W External Availability: Q1, 2015 I/O: 2x Thunderbolt 2 Size: 9.21 x 4.53 x 2.91 in. |  |
| Sonnet Echo Express III-D | $799 |
| PSU: 300W Built-in Availability: Q4, 2013 I/O: 2x Thunderbolt 2 Size: 15.94 x 10.20 x 3.82 in. |  |
| Netstor NA211TB | $999 |
| PSU: 300W Built-in Availability: Q1, 2014 I/O: 2x Thunderbolt 2, 4x SAS/SATA Size: 14.60 x 7.87 x 4.33 in. | 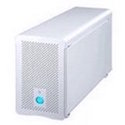 |
I’ve been using the AKiTiO Node which is a ready-to-go eGPU enclosure. I reviewed this Thunderbolt 3 enclosure and highly recommend it for first-time eGPU builds. The AKiTiO Node is currently the most affordable solution and has space for almost every graphics card on the market including those with liquid cooling. It also has a built-in 400W power supply. Another important feature it has is the Texas Instrument TI83 USB-C controller. Thunderbolt 3 enclosures with TI83 controller are preferable due to native support in macOS Sierra 10.12.
Another great option is the Mantiz Venus Thunderbolt 3 enclosure. It has more features and gets my recommendation for pairing with the Late 2016 MacBook Pro. With 5x standard USB 3.0 ports, 1x Ethernet port, 1x SATA III connection, and 87W charging power through a single Thunderbolt cable, the Mantiz Venus is the ultimate Thunderbolt 3 eGPU docking station.
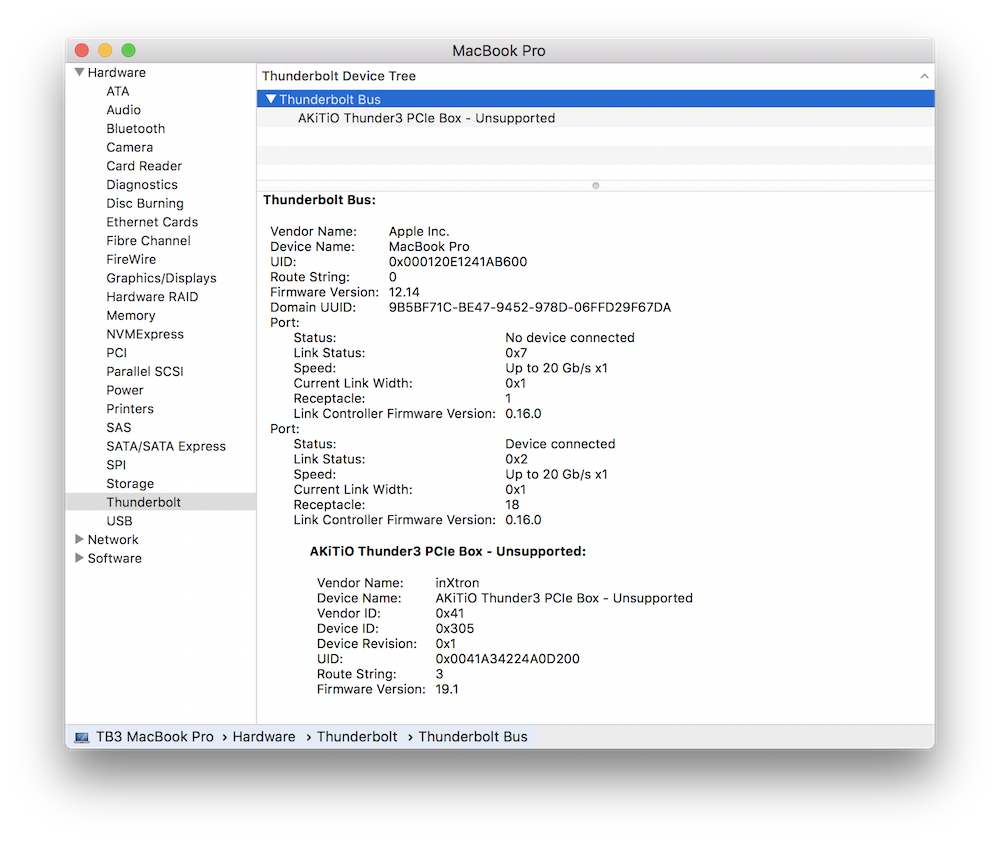
All Thunderbolt 2 enclosures as well as Thunderbolt 3 enclosures with the older TI82 controller are not supported and have a harder time communicating with macOS. Kid2010 on Netkas forum discovered this is a software block Apple put in place starting with 10.12.1. Fortunately, he found a workaround to bypass this restriction. If you see the “Unsupported” message in System Information > Thunderbolt device tree for your Thunderbolt enclosure, download and run TB3-Enabler. After running this script, your Thunderbolt enclosure will show “Supported” and be able to communicate with macOS. Mac OS 10.9 to 10.11 does not have this Thunderbolt software block.
Step 2: External GPU Recognition
The next step is to make your Mac recognize there’s an external GPU attached to the enclosure. Goalque discovered the workaround and developed automate-eGPU script to make this process easy. The script modifies existing Mac OS system files to enable the recognition of an external graphics card connected through a Thunderbolt enclosure. automate-eGPU.sh v1.0.0 is the latest version which supports Mac OS 10.9 to 10.12. As mentioned earlier Apple has not officially released this eGPU feature for Mac, so this step will need to be completed every time you update Mac OS.
Step 3: eGPU Driver Installation
Besides enabling the recognition of external GPU in Mac OS, automate-eGPU script also facilitates the graphics card driver installation process. Some AMD Radeon graphics cards have native and partially working drivers in macOS while Nvidia GeForce graphics cards use Nvidia web drivers. Running automate-eGPU.sh v1.0.0 script will either load the appropriate Mac OS drivers for your AMD GPU or install web drivers for your Nvidia GPU.
On April 11th, 2017 Nvidia released the long-awaited web drivers for Pascal graphics cards. The drivers are currently beta but nevertheless allow Macs to use GTX 10 series GPUs. Here is the list of graphics cards, sorted newest to oldest, that we’ve found to work with macOS Sierra 10.12.
Nvidia GeForce | AMD Radeon |
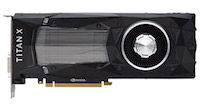
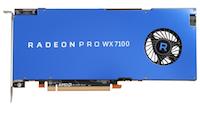
| GTX Titan X Pascal | Pro WX 7100 |
 |  |
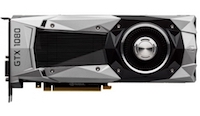
| GTX 1080 Ti | Pro WX 5100 |
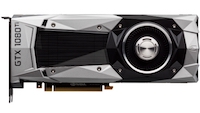 | 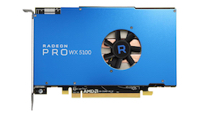 |
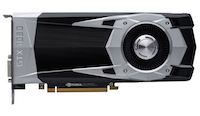
| GTX 1080 | Pro WX 4100 |
 | 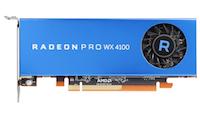 |
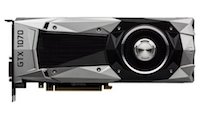
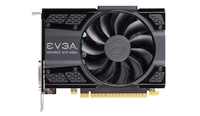
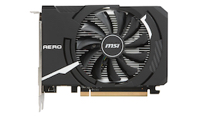
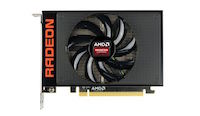
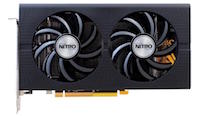
| GTX 1070 | RX 580 |
 |  |
| GTX 1060 | RX 570 |
 |  |
| GTX 1050 Ti | RX 560 |
 |  |
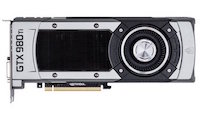
| GTX Titan X | R9 Fury X |
|
| 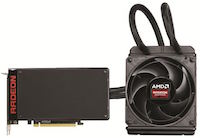 |
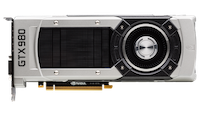
| GTX 980 Ti | R9 Fury/R9 Nano |
 |  |
| GTX 980 | RX 480 |
 |  |
| GTX 970 | RX 470 |
 |  |
| GTX 960 | RX 460 |
 |  |

Juice for your Apple
Most common problems with external GPU builds arise from an improperly paired power supply. Without adequate power, it will be a headache maintaining a functional eGPU. It’s best to use a Thunderbolt enclosure that has a built-in power supply with at least 350W. For Thunderbolt enclosures without a built-in PSU, you can either use a Dell DA-2 220W power brick (for GPUs requiring less than 150W TDP) or a 400W+ desktop power supply. The use of an external power supply requires power cable modifications which can be done through soldering of existing cables or buying pre-made cables. eGPU.io Forum has a section with discussions on eGPU power supplies and cables.
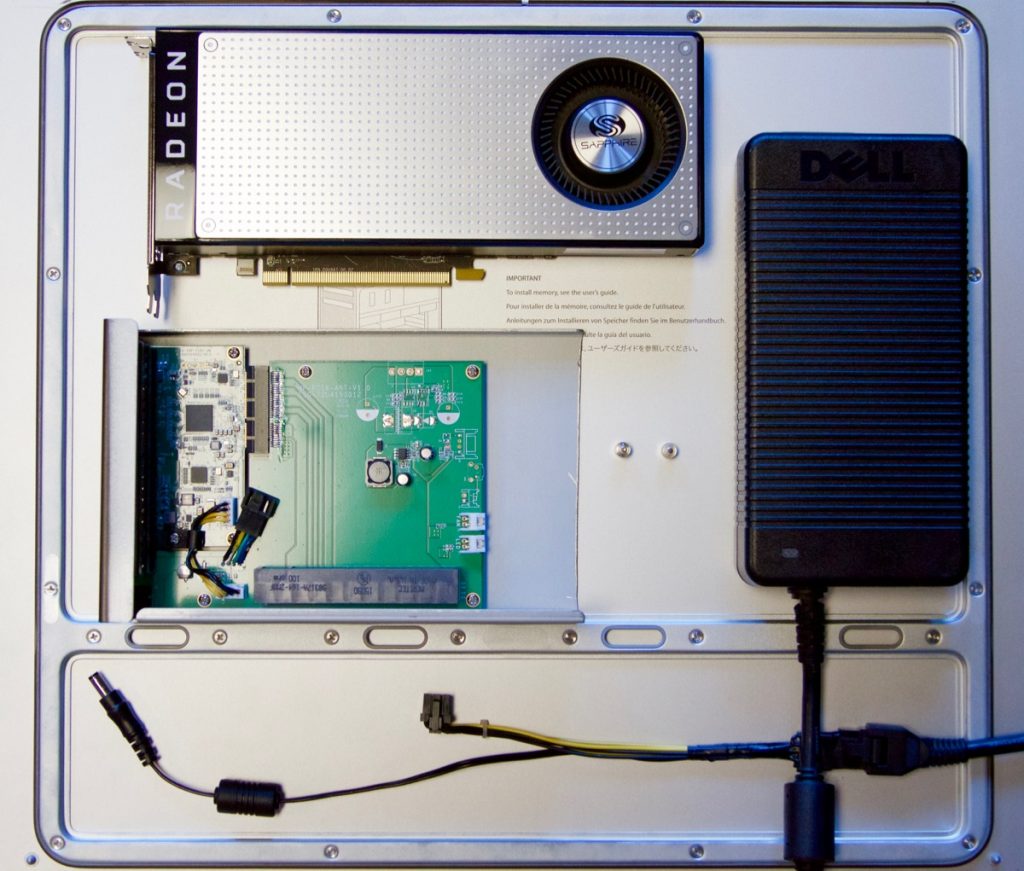
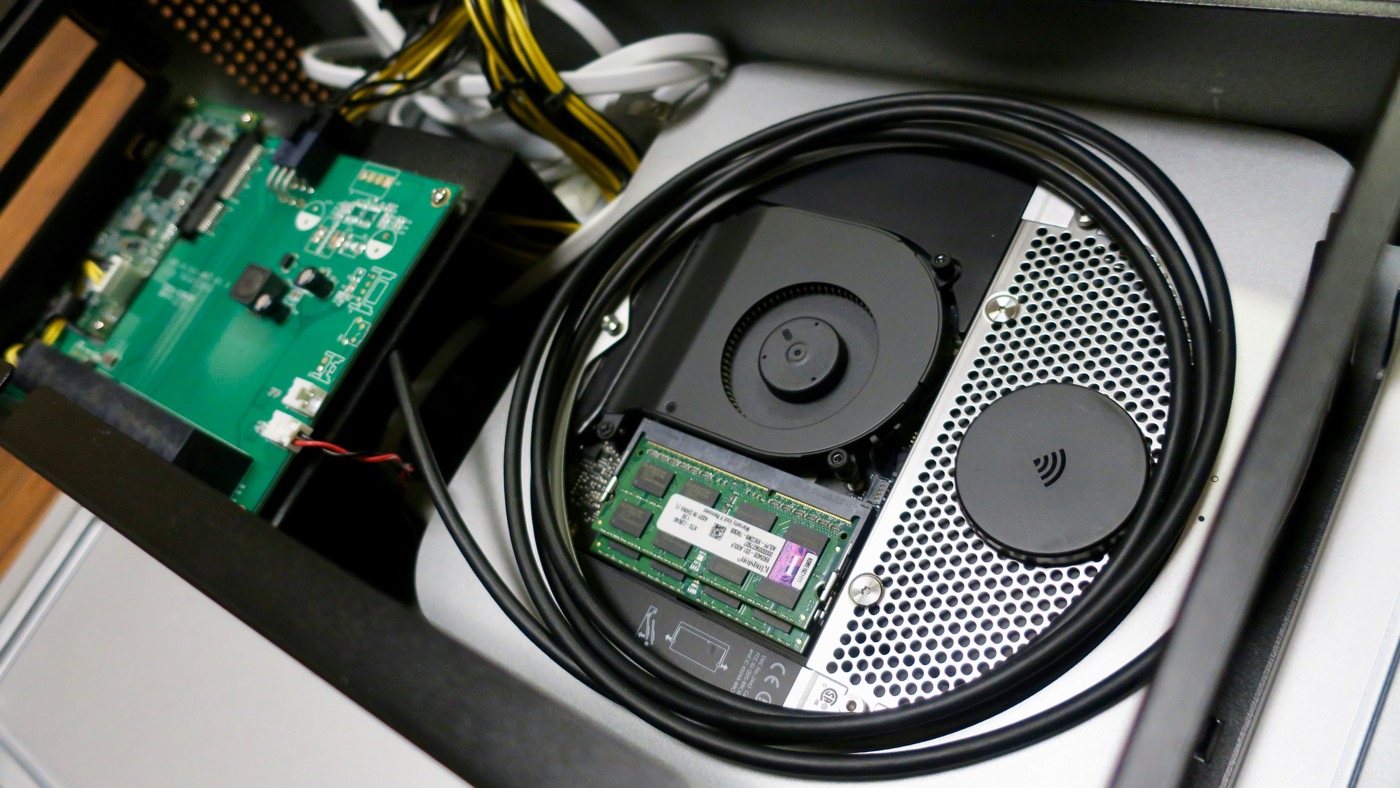
eGPU Components: AKiTiO Thunder2, Dell DA-2, and Radeon RX-470
External Graphics Card Setup
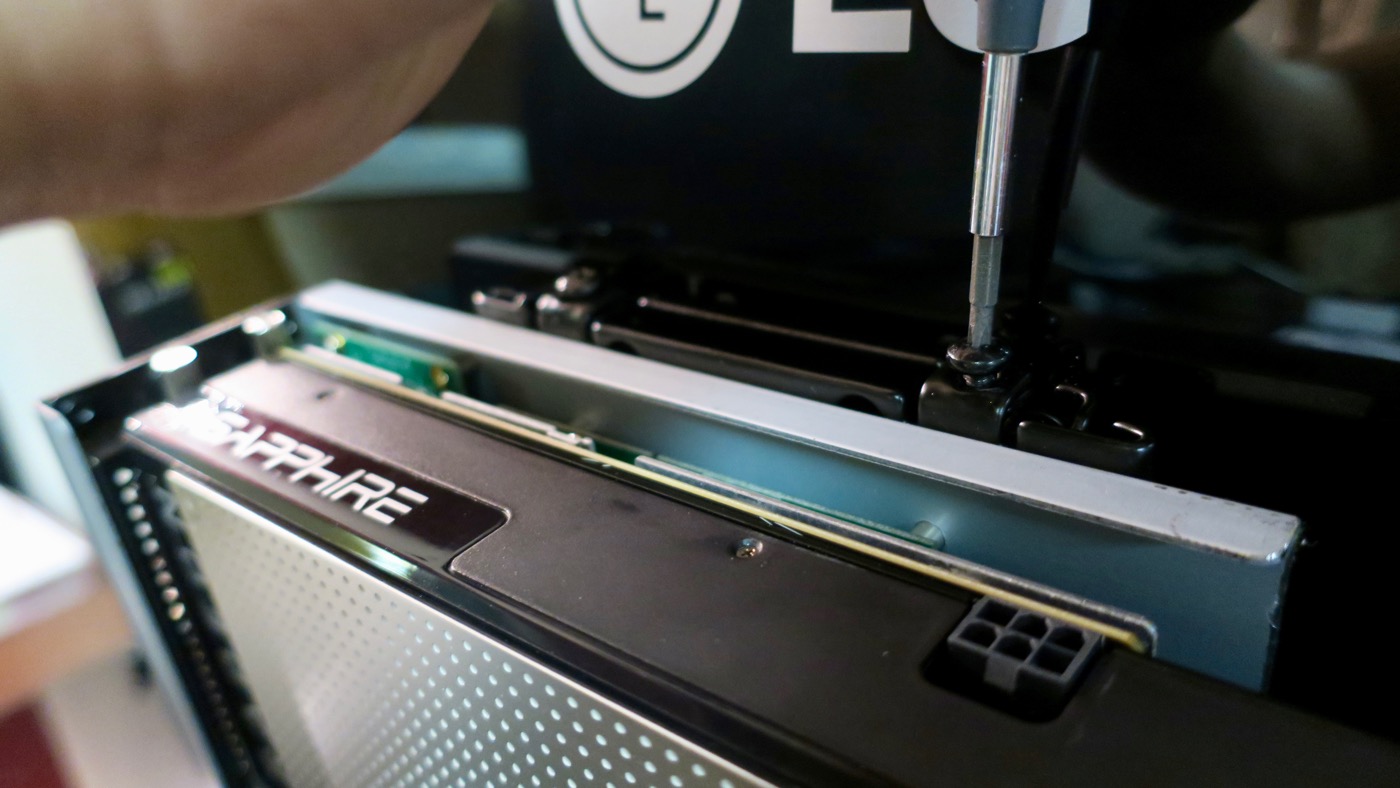
Once you have chosen and put together all hardware components for your Mac eGPU build, the next step is software installation in Mac OS. At this time, you cannot connect or disconnect the eGPU while your Mac is running. Connecting your Mac to the external GPU enclosure requires a cold boot. Disconnecting the external GPU enclosure while the computer is running will freeze the system and cause a kernel panic. Make sure to always shut your Mac down before unplugging the Thunderbolt cable.
automate-eGPU.sh Instructions
With your Mac turned off, connect the Thunderbolt cable from your external GPU enclosure to your Mac’s Thunderbolt port. Turn the computer on once you’re hooked up. Open Terminal to download and run automate-eGPU.sh:
curl -o ~/Desktop/automate-eGPU.sh https://raw.githubusercontent.com/goalque/automate-eGPU/master/automate-eGPU.sh
cd ~/Desktop
chmod +x automate-eGPU.sh
sudo ./automate-eGPU.sh
These extra steps are required for AMD cards (macOS 10.12.2):
- Shut down after the completion of automate-eGPU.sh
- Disconnect eGPU
- Boot into macOS, hot plug, rerun: sudo ./automate-eGPU.sh
- If your Mac is newer than Late 2014, you might have to turn on -a mode: sudo ./automate-eGPU.sh -a. If the first try is not successful -a mode turned on, turn it off (sudo ./automate-eGPU.sh -m), start from the beginning and skip this step.
- Shut down
- If you have a TB3 Mac, a USB-C adapter (such as USB-C to USB, USB-C to DP) plugged in the other TB3 port is necessary for now.
- Connect eGPU and boot into macOS, and soon you’ll hear the “whoosh” sound!
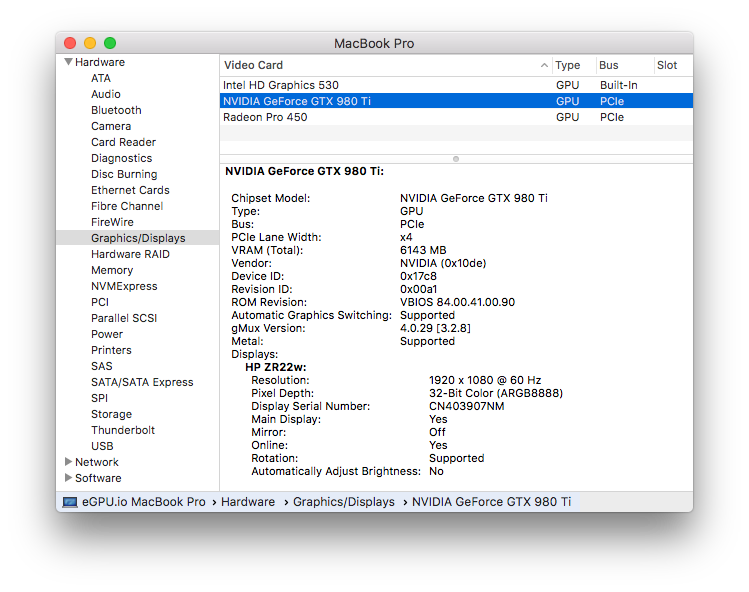
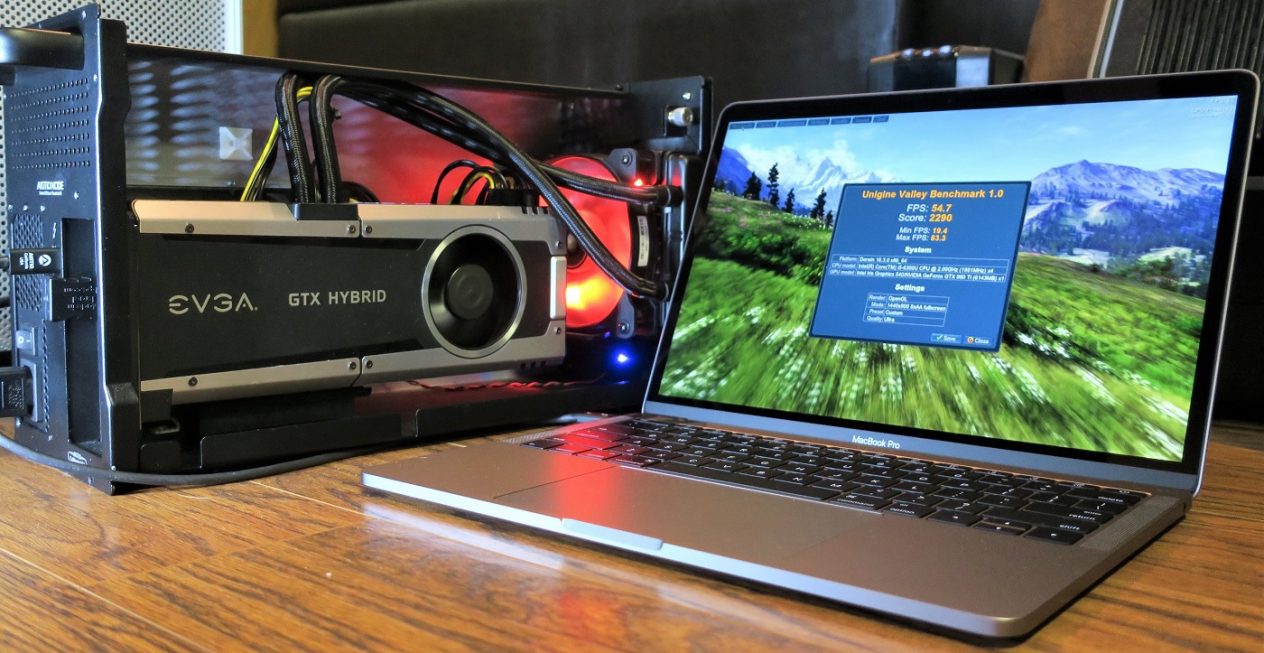
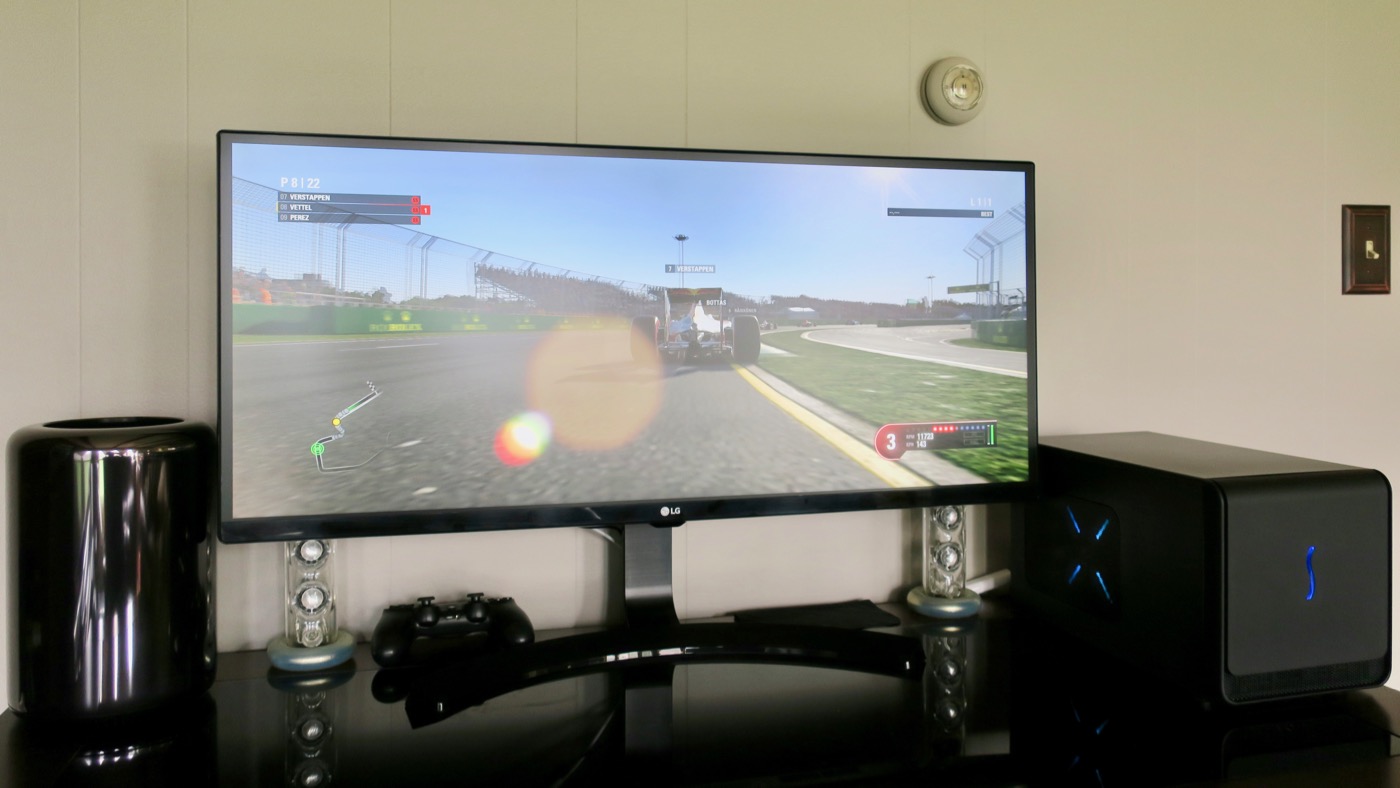
If all goes well, you should be able to see your graphics card running with Metal support in System Information > Graphics Cards/Displays. Connecting your external GPU setup to an external display will work similarly to this AKiTiO Node working with a Late 2016 MacBook Pro 15″.
Once your eGPU is up and running, you can continue using it with an external monitor or force the eGPU to accelerate the internal display of your Mac. If you go with the latter option, you will need a ghost video adapter such as fit-headless 4K HDMI adapter. The other one we found to be working are Bee Eater 4K Display Emulator.
eGPU-accelerated Internal Display How-to
With your eGPU running in Mac OS, follow these steps posted by Goalque to get internal display acceleration:
- Download and run Spectacle
- Download and run DisableMonitor
- Go to macOS System Preferences -> Dock -> Position on screen -> Left (if you arrange your ghost display to the right of the internal display)
- Plug the ghost display adapter in and set it as the primary display
- Set the resolution to match internal screen in DisableMonitor*
- Launch an app such as Valley benchmark from the Dock (there you see its child window)
- Switch “Next Display” or “Previous Display” with a keyboard shortcut (CONTROL ⌃ OPTION ⌥ COMMAND ⌘ LEFT ◀︎ or RIGHT ▶︎ ARROW).
*Spectacle switches apps between displays in both Windowed and Fullscreen mode. Matching the ghost display’s resolution with the internal display using DisableMonitor is therefore recommended.
Best of luck on your external graphics card build! Please visit eGPU.io Forum to ask questions and share your successes.
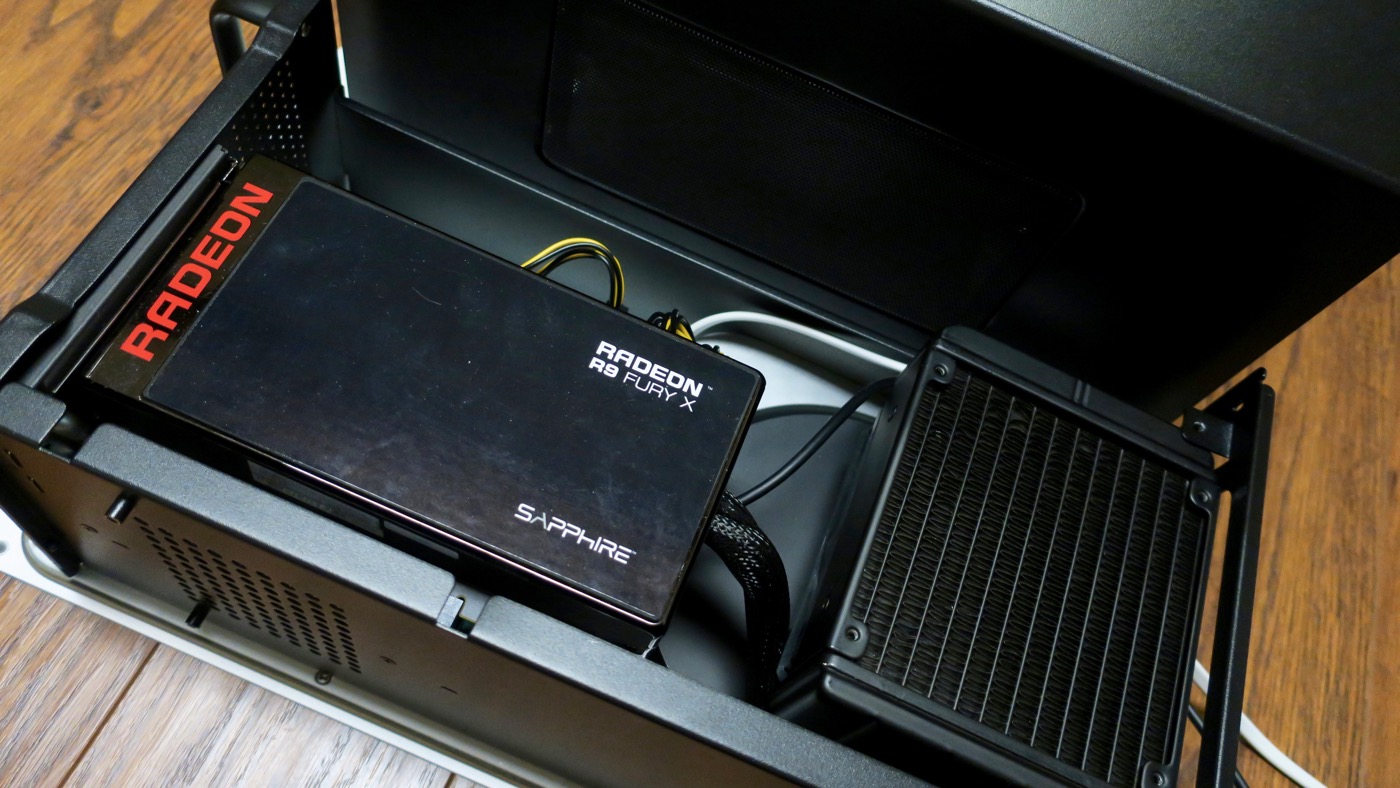
An example build I put together recently: mid 2011 Mac mini + AKiTiO Node + AMD Radeon R9 Fury X

 |  |
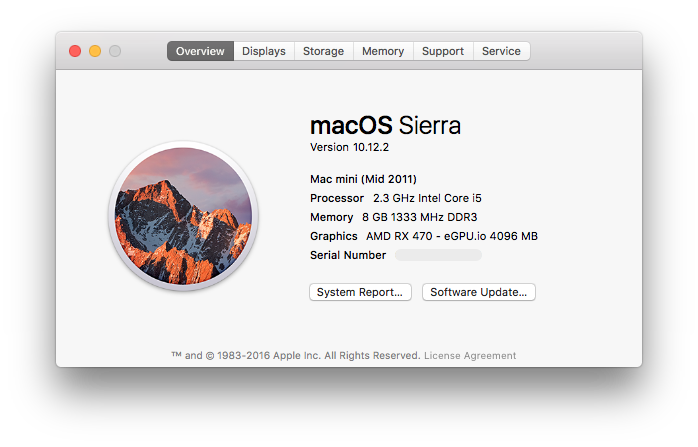
Another example of monitor with built-in eGPU: mid 2011 Mac mini + AKiTiO Thunder2 + AMD Radeon RX 470
 |  |
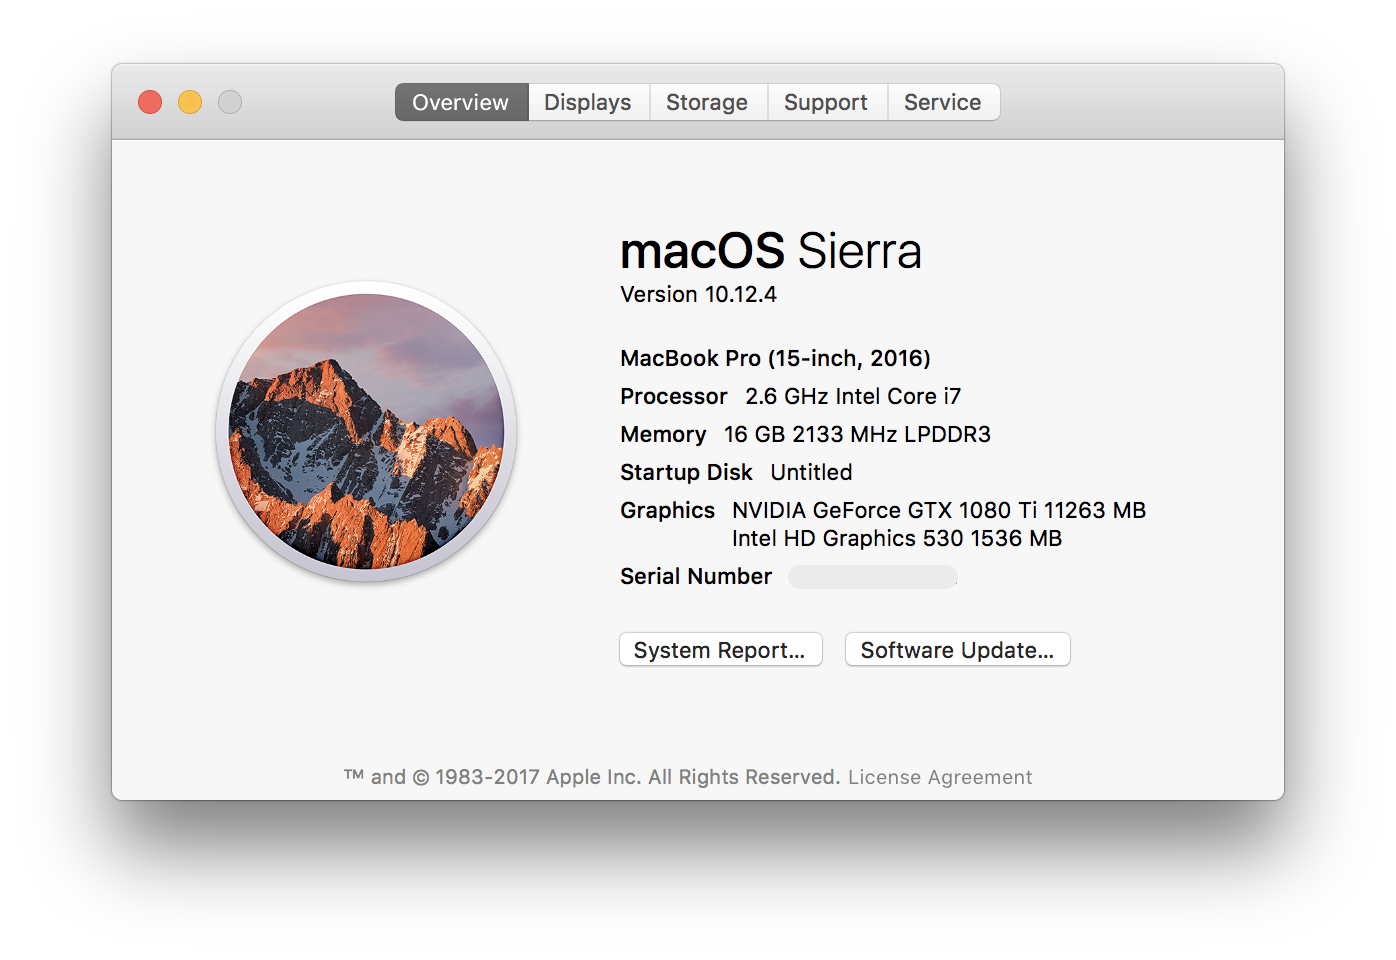
An example following Nvidia Pascal GPU driver support: Late 2016 15″ MacBook Pro + Mantiz Venus + Nvidia GTX 1080 Ti
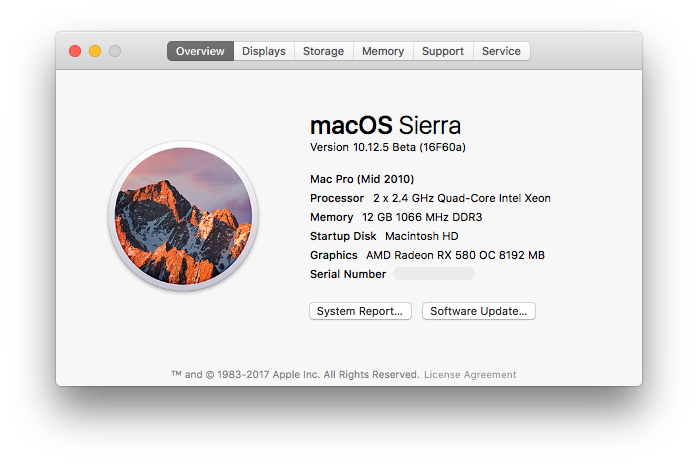
Here’s the Late 2013 Mac Pro paired with the recently released Radeon RX 580 + Sonnet eGFX Breakaway Box
Share this Post