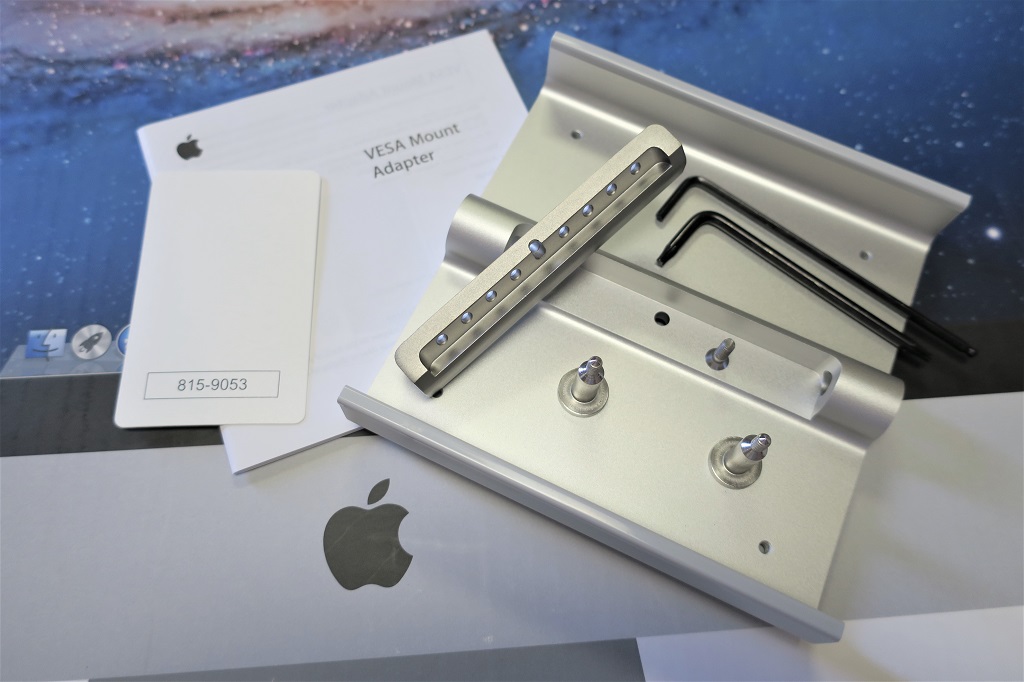
Are you considering the use of a more ergonomic desk for your iMac 27″ but realized the iMac stand stood in the way? In order to use a custom monitor arm for a 27″ iMac you need to covert the factory stand to a VESA mount. Apple sells this VESA mount as part model A1313.
The most challenging step is exposing the mounting screws on the stand. To install the VESA mount, follow these steps:
- Lay your 27″ iMac face down on a desk or table with a soft towel under the display.
- Position the iMac so that the bottom part of the stand hangs slightly over the edge of the table.
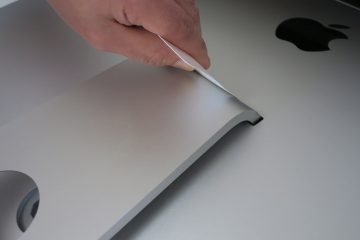
- Insert the flexible plastic tool (Apple refers to this as the access card) into the gap between the top of the stand and the back of the iMac. Inside there’s a spring-loaded metal latch which locks the hinge mount in place.
- Compress the latch down by pushing the access card slightly upward into the body of the iMac. This allows the hinge mount to move.
- Once the latch is compressed, push the bottom of the stand down to expose the hinge mount.
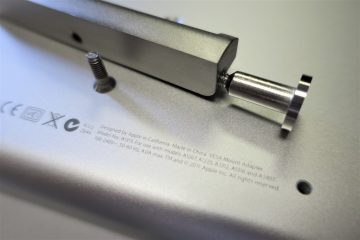
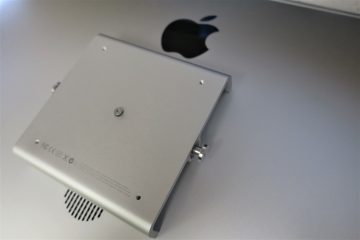
- Unscrew 8 Torx screws on the hinge mount with the provided Torx tool (Torx 6).
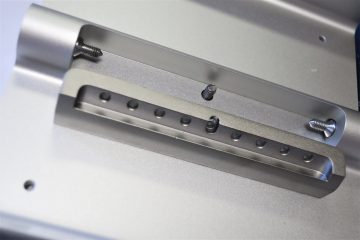
- Remove the factory stand, then attach the new VESA flange using the same Torx tool and 8 screws from the hinge mount.
- Place the VESA mount adapter over the flange and use the Torx tool to screw this adapter in place.
- Use the Hex tool to attach the 2 bolts on either side of the VESA mount adapter.
Share this Post