
June 2017 Update: With the release of mid-2017 iMacs, Apple has officially used Polaris Ellesmere GPUs in its lineup. The wonderful news is 10.12.6 will include drivers for RX 470, RX 480, RX 570, and RX 580. This means starting with 10.12.6 and future macOS version, we don’t need to perform these kext modifications anymore to use these cards in our Mac Pro towers. 😀
April 2017 Update: AMD released Radeon RX 500 series on April 18th, 2017. I received an RX 580 test unit from AMD and can confirm it has the same PCI ID (67DF) as the RX 480. Therefore this how-to works the same way for RX 580 and RX 570.
February 2017 Update: There are changes in 10.12.4 and newer which make installing and maintaining a Radeon RX 480 in macOS a bit more challenging. I’ve updated this post with a revised how-to and a list of AMD Radeon graphics cards you can use for your Mac Pro tower.
- Polaris 10 Support in macOS
- macOS 10.12.4 Update
- Installation How-to
- Performance Easter Egg
- Recommended RX 480
In a sea of new graphics cards the AMD Radeon RX 480 currently gives the best value for performance. After years of falling behind, AMD aims to win back market share with the introduction of its Polaris GPU lineup. The Polaris 10 GPUs include the RX 470, RX 480 and another high-end card that has yet to be announced. Luckily for us Mac Pro tower owners, macOS 10.12 Sierra brought support for these new AMD graphics cards.
Since macOS 10.12 Developer Beta 2, there have been references and drivers for Polaris 10 (Ellesmere personality) and Polaris 11 (Baffin personality). In particular, AMDRadeonX4000.kext contains supporting PCI IDs for Polaris 11 GPUs (0x67EF1002, 0x67FF1002, 0x67C01002). Thanks to early reports from Netkas, you can spoof the personality of a Polaris 10 GPU to make it work under macOS. The PCI ID for both RX 470 and RX 480 is 67DF so adding 0x67DF1002 to AMDRadeonX4000.kext enables full acceleration for these cards.

Install AMD Radeon RX 480 GPU in tower Mac Pro with a 6-pin PCIe power cable.
When 10.12.1 Beta was released on September 21st, 2016, I discovered a new AMDRadeonX4100.kext file. This new kext solely contains support for Polaris GPUs. It’s possible Apple is ramping up development for updated Macs which will use one of these AMD graphics cards. Alongside the new kext, the drivers were also improved. The Radeon RX 480 now runs stably and is functional with the exception of the usual missing boot screen for non-EFI GPUs.
10.12.4 Update: On January 24th, 2017, I discovered a new AMD9510Controller.kext file in macOS 10.12.4 Beta. This file replaced the AMD9500Controller.kext. With this change, the PCI ID 0x67DF1002 for Polaris 10 GPUs was removed. That means it’s harder to keep an RX 470 or RX 480 graphics card working with 10.12.4 update and beyond. I have since revised this how-to so that you can install and maintain the working status of an RX 480 when there’s a macOS system update. If you’re running 10.12.3 or older, skip step 2 and 3.
Without further ado, let’s get your RX 480 working with macOS in your Mac Pro tower.
RX 480 macOS Sierra How-to
Complete these steps prior to replacing your existing graphics card with the RX 480:
1. We need to disable SIP (System Integrity Protection) in order to modify system files. Enter Recovery Mode by holding Command ⌘ and R keys at Boot. Open Terminal under Utilities on the top menu and type the following:
csrutil disable
reboot
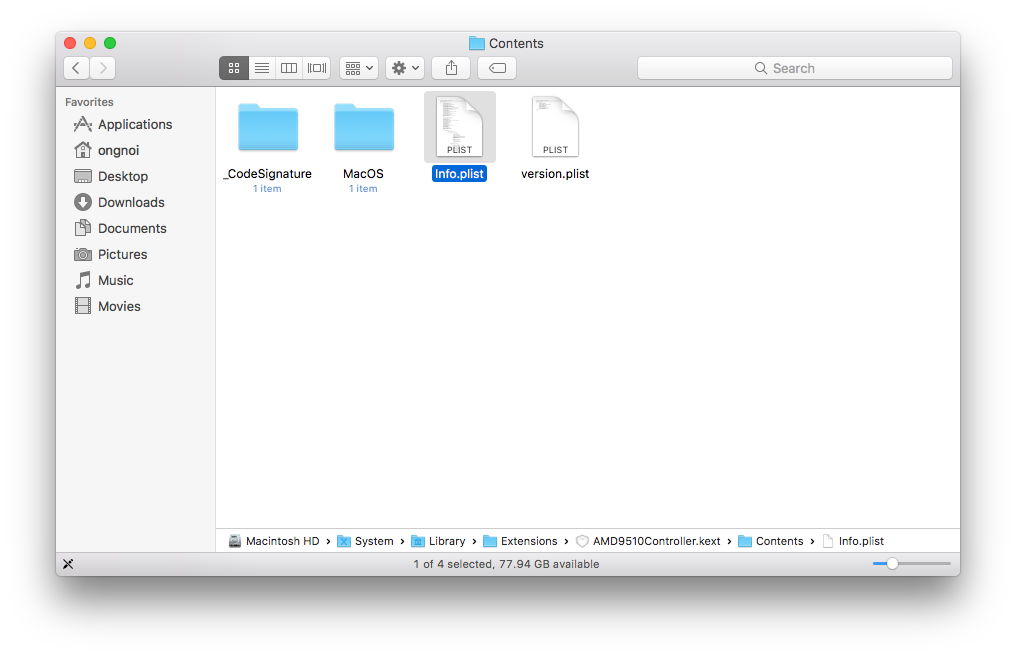
2. Before we can physically install the RX 480 into the Mac Pro tower, macOS has to be able to recognize the RX 480’s PCI ID which is 67DF. Locate AMD9510Controller.kext in /System/Library/Extensions then right click and choose “Show package content”.
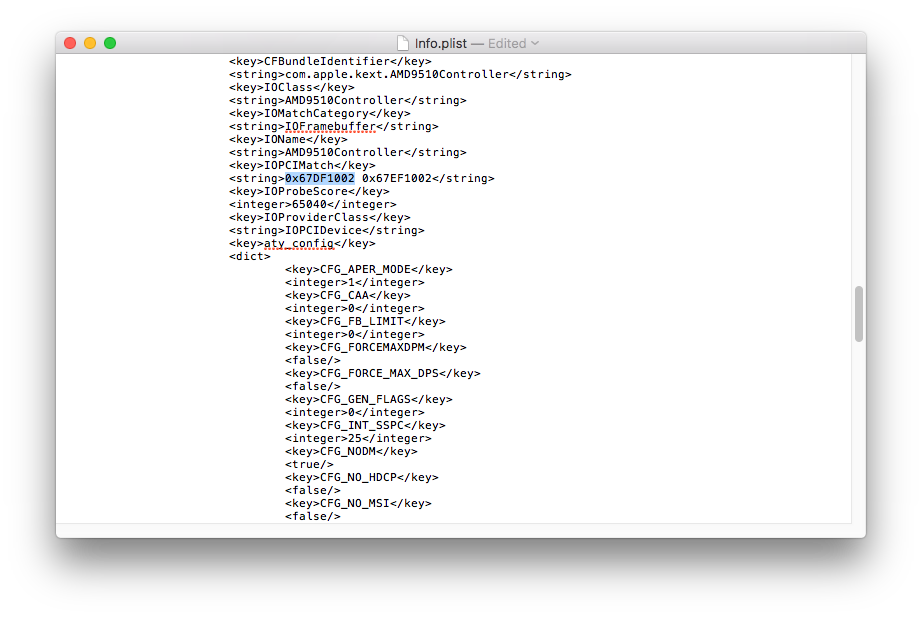
3. Drag the info.plist onto the Desktop in order to edit. Open the copy of info.plist on your Desktop in TextEdit then locate the string with a PCI ID. Add 0x67DF1002 as shown below. Drag and drop this edited plist back into AMD9510Controller.kext.
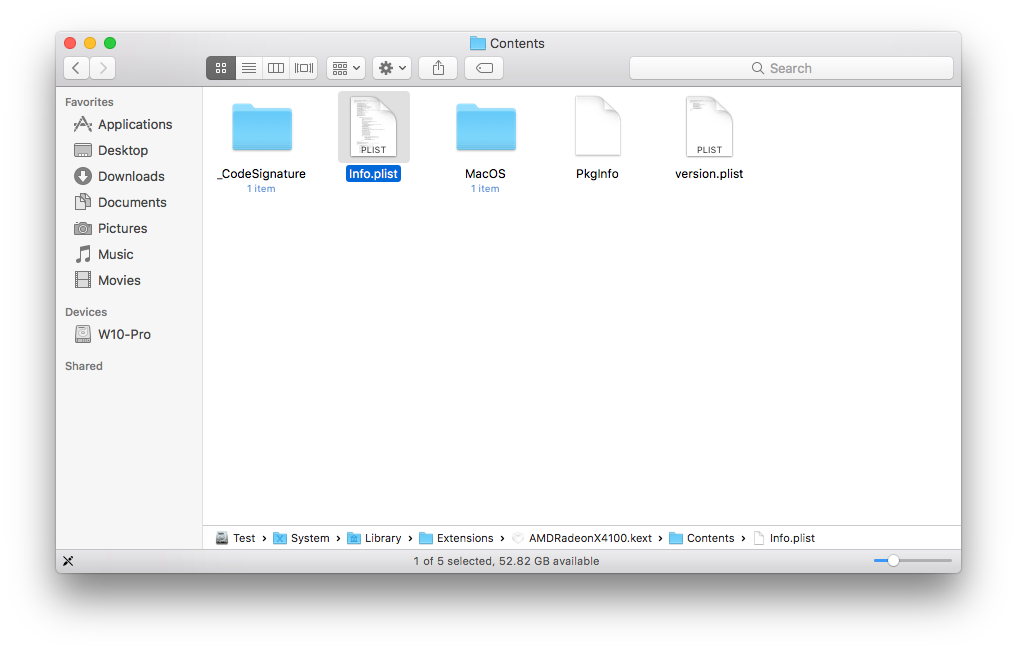
4. To enable full acceleration and Metal support, we need to add the RX 480’s PCI ID to the Info.plist within AMDRadeonX4100.kext. Locate this file in /System/Library/Extensions then right click and choose “Show package content”.
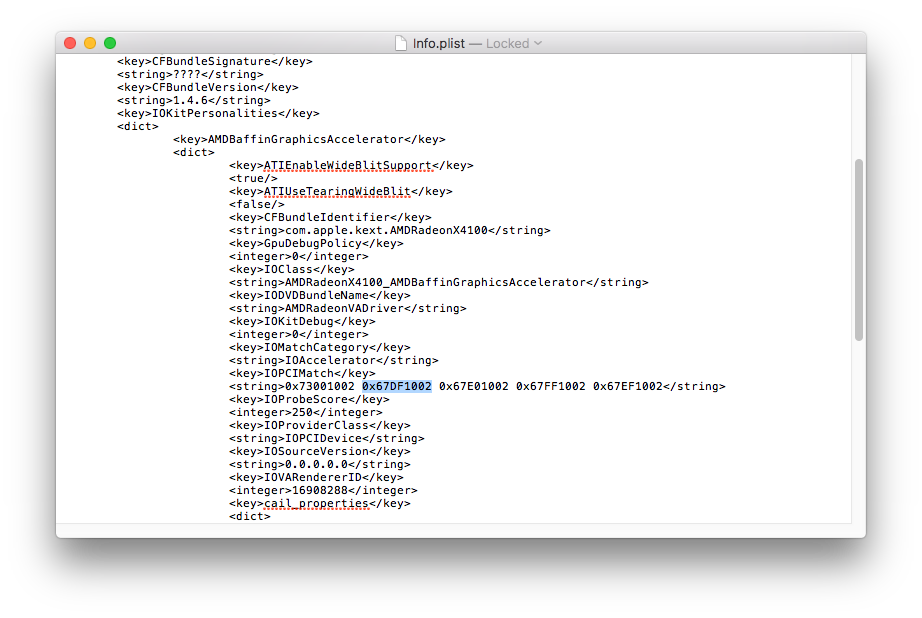
 5. Drag the info.plist onto the Desktop in order to edit. Open the copy of info.plist on your Desktop in TextEdit then locate the string with PCI IDs. Add 0x67DF1002 as shown below. Drag and drop this edited plist back into AMDRadeonX4100.kext.
 6. About this Mac will show the graphics card name as AMD R9 XXX. In order to show AMD RX 480, you can edit the controller file inside /System/Library/Extensions/AMD9500Controller.kext/contents/MacOS (AMD9510Controller.kext for 10.12.4 and newer). Download and open this controller file in iHex. Do a text search for “XXX” then change it to your GPU name.

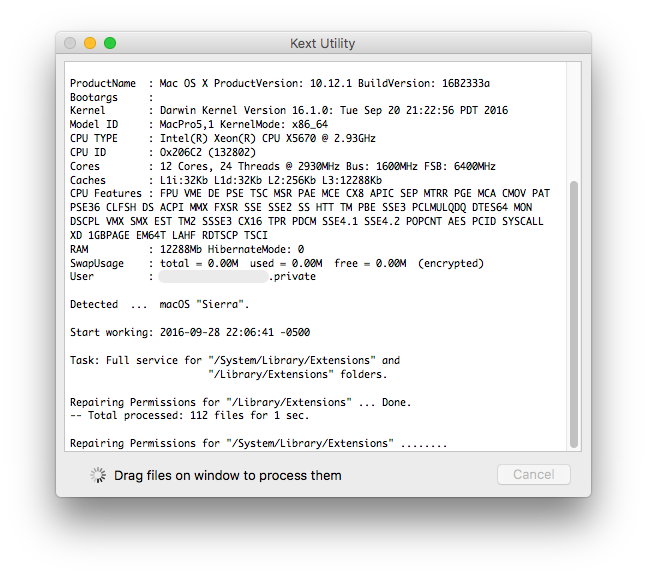
7. Download and run Kext Utility to repair kext permissions. Shut down your Mac Pro when this process is complete. At this time, you can put the RX 480 into your Mac Pro either as a replacement card or additional card to the existing GPU. Powering the Mac Pro on should give you a fully functional RX 480 GPU with the right name in About this Mac.
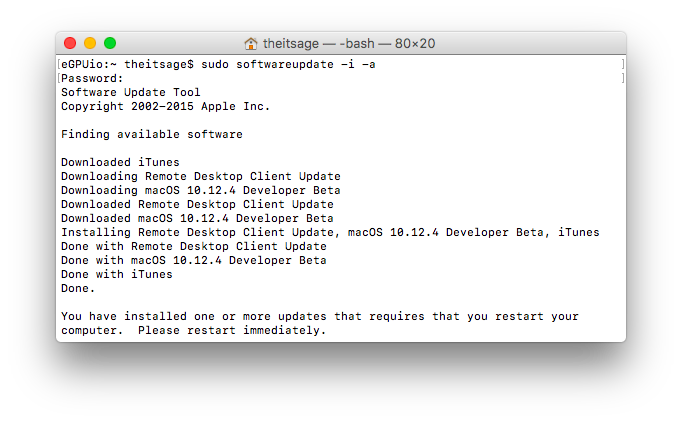
Warning: If you want to upgrade macOS to 10.12.4 or newer with a working RX 480 setup, you need to run the OS update through Terminal instead of the App Store. This method prevents the computer from restarting during the system upgrade and allows you to perform these kext edits prior to restarting your Mac. Otherwise, you’ll encounter a black screen following the traditional App Store system upgrade. Big thanks to Haggspart on Macrumors forum for this instruction. Once the update is complete (as shown below), perform steps 2-7 before restarting your Mac Pro.
sudo softwareupdate -i -a
Performance Easter Egg
This kext edit hack essentially borrows the Baffin personality of the Polaris 11 line of graphics cards so that Polaris 10 GPUs can work in macOS. Apple has not released a Mac with official support for Polaris 10 so it’s always a possibility newer version of macOS may break this workaround. Until then, enjoy your Mac Pro tower the way it’s meant to be – modular, expandable, and built for the pros.
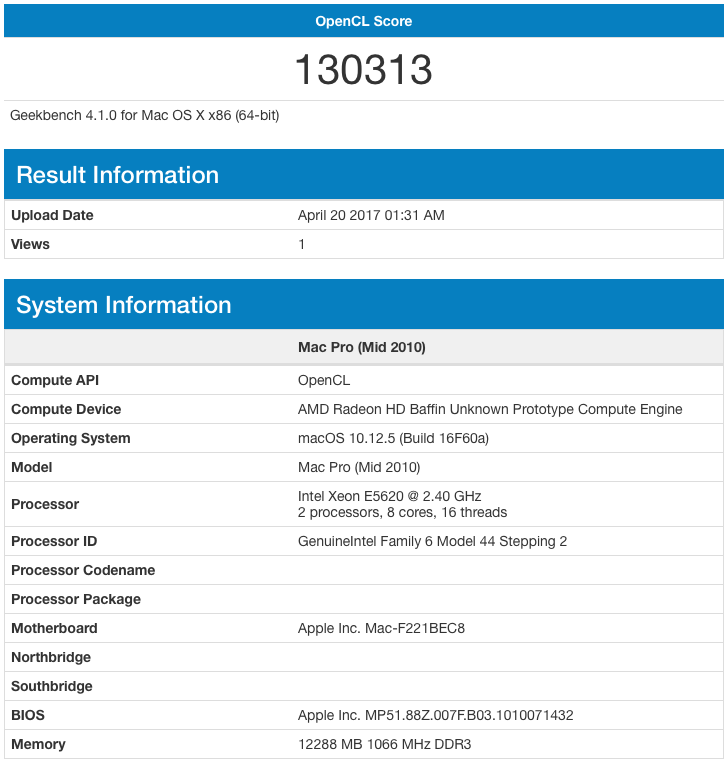
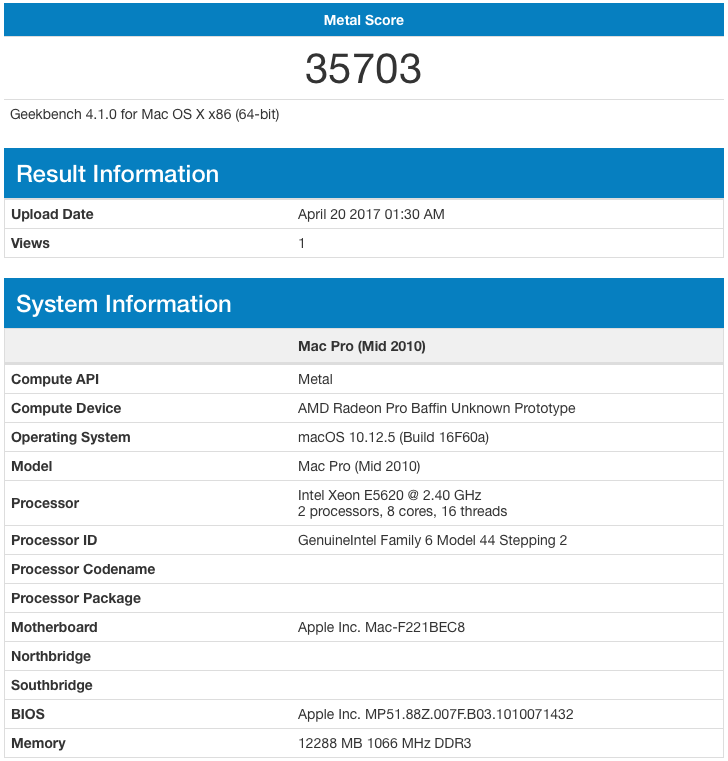
There is an additional kext edit to unlock more performance. Due to Baffin GPU using no more than 16 computing units, the RX 480 is restricted at 16 CUs. The genius minds in the Mac community (okras and Fl0r!an) have found yet another workaround to enable all 36 computing units on the RX 480. This should give a nice boost in OpenCL performance. Goalque wrote a script to automate this process. You can download this enable-baffin-cus script and run these commands in Terminal (assuming the script is on the Desktop).
cd ~/Desktop
chmod +x enable-baffin-CUs.sh
sudo ./enable-baffin-CUs.sh ellesmere 36
Recommended RX 480
In the past 5 months since writing this how-to, I received many emails asking for recommendations on which RX 480 GPU to buy. Here is a useful table of the ones found to be working in the Mac Pro tower. The Mac Pro tower comes with a 6-pin PCIe power cable while most of these GPUs have an 8-pin PCIe power cable. I’ve used this 8-pin PCIe power cable in both Nvidia and AMD GPU setup with great success.
AMD RX 480 GPU |
Price |
| ASUS Dual OC RX 480 | $204.99 / $254.99 |
| Clock Speed: 1,325 MHz Video RAM: 4GB / 8GB PCIe Connector: 8 pin Ports: 2x DisplayPort, 2x HDMI, 1x DVI-D |
 |
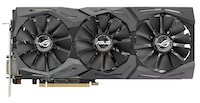
| ASUS STRIX OC RX 480 | $244.99 |
| Clock Speed: 1,330 MHz Video RAM: 8GB PCIe Connector: 8 pin Ports: 2x DisplayPort, 2x HDMI, 1x DVI-D |
 |
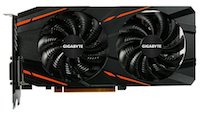
| Gigabyte RX 480 G1 Gaming | $199.99 / $239 |
| Clock Speed: 1,290 MHz Video RAM: 4GB / 8GB PCIe Connector: 8 pin Ports: 3x DisplayPort, 1x HDMI, 1x DVI-D |
 |
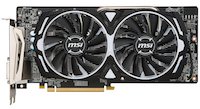
| MSI ARMOR RX 480 | $184.99 / $219.99 |
| Clock Speed: 1,291 MHz Video RAM: 4GB / 8GB PCIe Connector: 8 pin Ports: 2x DisplayPort, 2x HDMI, 1x DVI-D |
 |
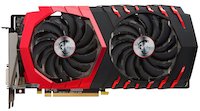
| MSI GAMING X RX 480 | $227.99 / $244.99 |
| Clock Speed: 1,316 MHz Video RAM: 4GB / 8GB PCIe Connector: 8 pin Ports: 2x DisplayPort, 2x HDMI, 1x DVI-D |
 |
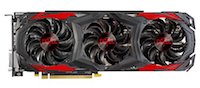
| PowerColor RED DEVIL RX 480 | $231.99 |
| Clock Speed: 1,330 MHz Video RAM: 8GB PCIe Connector: 8 pin Ports: 3x DisplayPort, 1x HDMI, 1x DVI-D |
 |
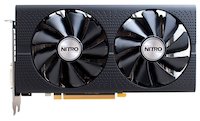
| Sapphire NITRO+ RX 480 | $209.99 / $244.99 |
| Clock Speed: 1,306 MHz Video RAM: 4GB / 8GB PCIe Connector: 8 pin Ports: 2x DisplayPort, 2x HDMI, 1x DVI-D |
 |
| VisionTek RX 480 | $214.99 |
| Clock Speed: 1,226 MHz Video RAM: 8GB PCIe Connector: 6 pin Ports: 3x DisplayPort, 1x HDMI |
 |
RX 580 Performance in macOS
 |
 |
 |
Good luck and have fun!
P.S. If you’d like to use a Radeon RX 480/RX 580 as an external graphics card with your Thunderbolt-equipped Mac, read my eGPU Beginner’s Setup Guide.
Share this Post